前言本来想把之前自己的ReactNative的Demo项目拿来变成Flutter版本,但是这几年一直搞Native开发回过头去看RN的项目好多都不明白了,真是开发者的噩梦,接触好多东西不使用的话渐渐地都模糊了,所以还是得把有的东西重点记下来,就相当于是自己的笔记一样没事翻着看看,这次Flutter就选择豆瓣去尝试下,毕竟豆瓣也有开放的API供开发者使用 底部导航首页 书影音 小组 市集 我 这部分选择使用BottomNavigationBar 去做底部导航栏的实现 搭建项目 创建一个新的Flutter项目 将HomePage相关抽离出来到另一个Dart文件中,并更改部分命名为MainPage 使用Route管理页面切换,默认进入Main页面 class MyApp extends StatelessWidget { // This widget is the root of your application. @override Widget build(BuildContext context) { return MaterialApp( title: 'Flutter Demo', theme: ThemeData( // This is the theme of your application. // // Try running your application with "flutter run". You'll see the // application has a blue toolbar. Then, without quitting the app, try // changing the primarySwatch below to Colors.green and then invoke // "hot reload" (press "r" in the console where you ran "flutter run", // or simply save your changes to "hot reload" in a Flutter IDE). // Notice that the counter didn't reset back to zero; the application // is not restarted. primarySwatch: Colors.green, ), routes: {"/main": (BuildContext context) => MainPage(title: "Main")}, initialRoute: "/main", ); }}
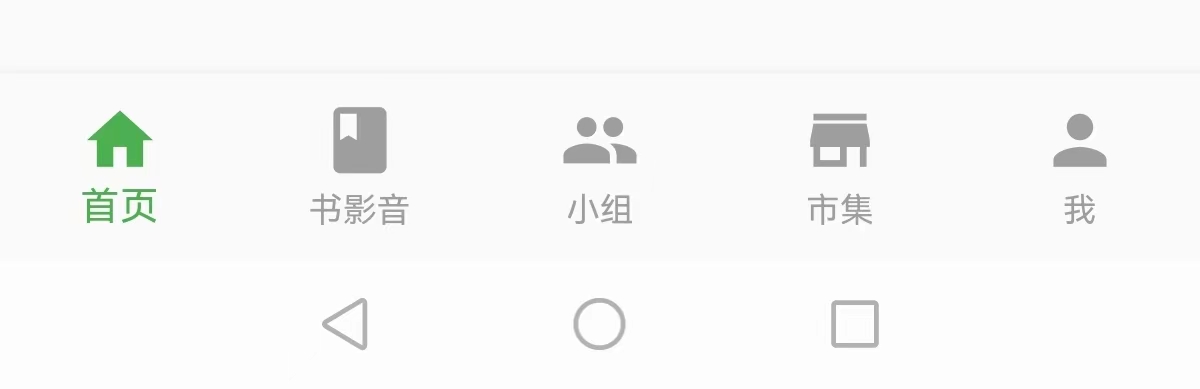
使用BottomNavigationBar实现底部导航UI,并为底部导航添加事件 class MainPage extends StatefulWidget { MainPage({Key? key, required this.title}) : super(key: key); // This widget is the home page of your application. It is stateful, meaning // that it has a State object (defined below) that contains fields that affect // how it looks. // This class is the configuration for the state. It holds the values (in this // case the title) provided by the parent (in this case the App widget) and // used by the build method of the State. Fields in a Widget subclass are // always marked "final". final String title; @override _MainPageState createState() => _MainPageState();}class _MainPageState extends State { int currentIndex = 0; void onNavigationChanged(int index) { setState(() { currentIndex = index; }); } @override Widget build(BuildContext context) { // This method is rerun every time setState is called, for instance as done // by the _incrementCounter method above. // // The Flutter framework has been optimized to make rerunning build methods // fast, so that you can just rebuild anything that needs updating rather // than having to individually change instances of widgets. print('build'); return Scaffold( appBar: AppBar( // Here we take the value from the MyHomePage object that was created by // the App.build method, and use it to set our appbar title. title: Text(widget.title), ), body: Center(), bottomNavigationBar: BottomNavigationBar( items: const [ BottomNavigationBarItem(icon: Icon(Icons.home), label: '首页'), BottomNavigationBarItem(icon: Icon(Icons.book), label: '书影音'), BottomNavigationBarItem(icon: Icon(Icons.group), label: '小组'), BottomNavigationBarItem(icon: Icon(Icons.store), label: '市集'), BottomNavigationBarItem(icon: Icon(Icons.person), label: '我') ], currentIndex: currentIndex, unselectedItemColor: Colors.grey, selectedItemColor: Colors.green, type: BottomNavigationBarType.fixed, onTap: (index)=>{ onNavigationChanged(index) }, ), ); }}
这里默认使用了有状态可变的StatefulWidget是因为我们的页面是可变的,在我们选中其他底部功能时页面是需要刷新的 onTap函数调用之后,我们更改了属性currentIndex ,同时调用了
setState(() { currentIndex = index; });
然后界面就会刷新,build函数会重新去渲染已得到更新的页面,细节后面我们可以一起看看setState函数的实现 效果
欢迎关注Mike的简书Android 知识整理
免责声明:如果侵犯了您的权益,请联系站长,我们会及时删除侵权内容,谢谢合作! |